

Installing a Drainage Catch Basin A Contractor’s Field Guide
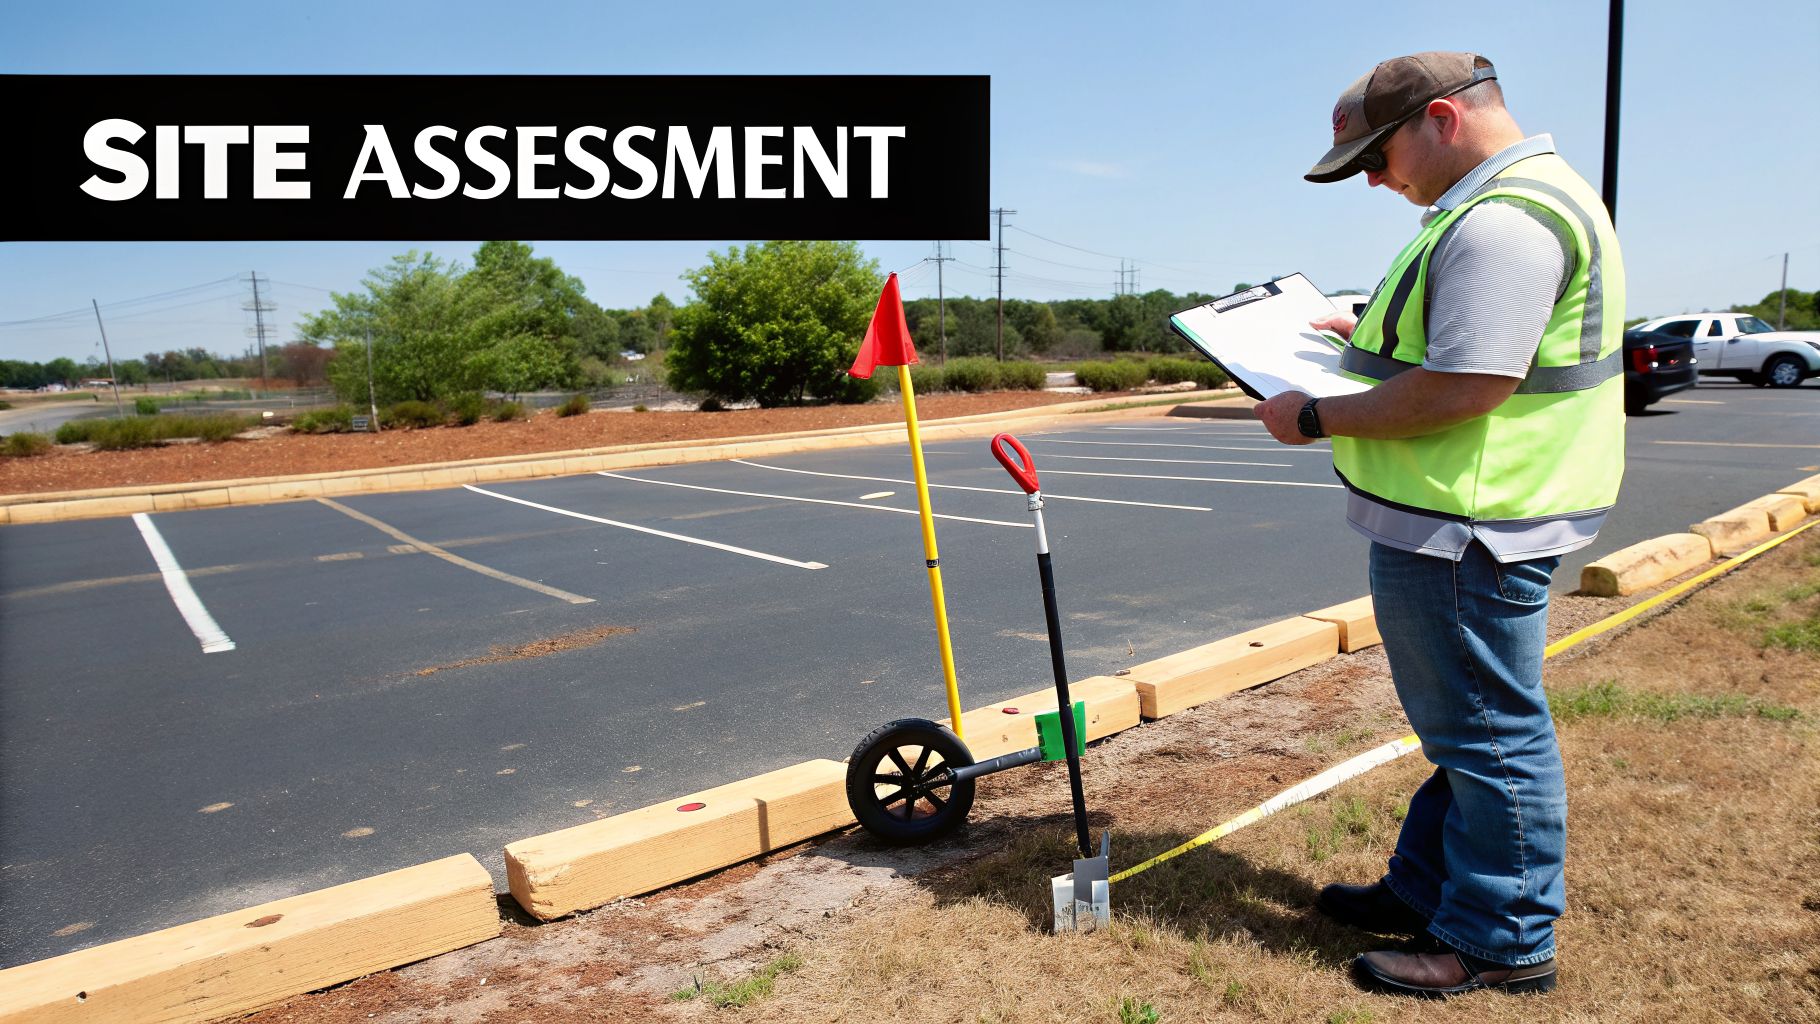
Before you even think about ordering materials or renting an excavator, the real work of a catch basin installation begins. It starts with a thorough site assessment, and frankly, this is the step that separates a lasting solution from a recurring headache. Getting this part right is everything.
Conducting a Thorough Pre-Installation Site Assessment
Don't even pick up a shovel until you’ve walked the site with a critical eye. A proper site assessment is more than just finding the biggest puddle in the parking lot; it’s a deep dive into how water behaves on the property. I've seen too many projects fail because this initial phase was rushed. Think of it as your project's most important insurance policy—it’s what prevents those costly and dangerous surprises later on.
Everything from the basin's design and size to the final permits is based on what you find here. If you miss a crucial detail, you could end up with a settled basin, an overwhelmed system, or worse, a severed utility line. Let's break down what a comprehensive assessment really looks like.
Identifying Problem Areas and Analyzing Grade
Your first job is to play detective. The best way to understand your water problem is to see it in action, so if you can, get out there during or right after a heavy downpour. There’s no substitute for watching where the water ponds, how deep it gets, and the paths it takes across the pavement.
If you can’t wait for rain, look for the clues it leaves behind:
- Water Stains and Silt Deposits: These subtle rings of dirt and debris act like a high-water mark, showing you exactly how far ponding extends.
- "Alligator" Cracking: When asphalt is constantly saturated, it weakens and develops a distinct, web-like cracking pattern. It’s a dead giveaway of a chronic water issue.
- Algae or Moss: Green stuff growing in the cracks means one thing: moisture is always present.
Once you’ve pinpointed the trouble spots, it’s time to get technical with the site's grade. Grab a laser level or a transit and start taking elevation shots across the entire area. Your goal is to create a simple topographic map that clearly shows the high and low points. This is non-negotiable—it confirms that water will actually flow toward your proposed basin location. As a rule of thumb, you need a slope of at least 1% (that’s a one-foot drop over 100 feet) for surface water to drain effectively on asphalt or concrete.
Mapping Utilities and Understanding Soil
Now for the most critical safety step of the entire project: locating underground utilities. Hitting a gas line, water main, or fiber optic cable is a nightmare scenario that is expensive, incredibly dangerous, and entirely avoidable.
Before a single shovel hits the ground, you are legally required to call 811. This is the national "Call Before You Dig" service, and it’s free. They will send out locators from all the local utility companies to mark their lines on your property. Do not skip this.
Remember, 811 only covers public utilities. You also need to account for private lines on the property, like irrigation pipes, wiring for parking lot lights, or storm drain laterals that aren't on the city's map. The original "as-built" plans for the property can be a lifesaver here.
Finally, take a look at the soil. The ground beneath the pavement has a huge impact on the basin's stability. Sandy, granular soils drain well and provide a solid foundation. Heavy clay, on the other hand, holds water and can turn to mush, causing your brand-new, multi-ton concrete basin to sink. A quick soil test tells you exactly what you’re dealing with, guiding your decisions on base preparation and compaction. This is how you ensure the structural integrity of your entire paving system for years to come. For a deeper dive, read our guide on how paving with drainage in mind can protect your long-term investment.
Gearing Up with the Right Tools and Materials
Once your site plan is locked in, the next step is arguably the most important: selecting your tools and materials. This is where your project either succeeds for decades or fails in a few short years. Choosing subpar components or the wrong equipment for installing a drainage catch basin is a guaranteed route to costly repairs down the road. What you choose here will determine whether your new basin can handle a 40-ton truck or if it will crack and settle after the first winter.
This isn’t just about making a shopping list. It’s about arming yourself with the right gear to build a system that can withstand the daily abuse of a commercial parking lot, from heavy traffic to freeze-thaw cycles.
The Essential Heavy-Duty Equipment
While you might get away with a shovel on a small residential job, a commercial parking lot is a different beast entirely. You need serious machinery to do the job safely, efficiently, and correctly.
- Excavation Equipment: Your best friend on a job like this is a mini-excavator. It has enough muscle to chew through compacted soil and old asphalt, yet it's nimble enough to work around existing structures without turning the whole site into a disaster zone.
- Compaction Tools: I can't stress this enough: you absolutely must have a plate compactor or a "jumping jack" tamper. This is non-negotiable. It's the only way to properly prepare the gravel base and compact your backfill in layers (we call them "lifts"). Without proper compaction, the ground will inevitably settle, taking your new basin and the surrounding pavement down with it.
- Cutting and Demolition Tools: For cutting into existing pavement, a walk-behind concrete saw is a must. It delivers the clean, straight edges you need for a professional-looking patch and, more importantly, a solid bond between the old and new asphalt.
The Heart of the System: Choosing Your Basin
The basin itself is the core of your installation. In a high-traffic commercial lot, it will be subjected to constant, heavy loads, so the material choice is critical. You have a few common options, and each has its place, but for most commercial applications, one clear winner emerges.
Here's a breakdown of the materials you'll encounter and where they fit best.
Commercial Catch Basin Material Comparison
| Material | Durability & Load Rating | Installation Complexity | Typical Cost | Ideal Application |
|---|---|---|---|---|
| Precast Concrete | Excellent; easily meets AASHTO H-20 ratings. Extremely durable and heavy, resisting movement. | High; requires heavy equipment (excavator or crane) to lift and set in place. | The standard for commercial parking lots, roadways, and any area with heavy truck traffic. | |
| High-Density Polyethylene (HDPE) | Good; strong and chemical-resistant but can be more susceptible to damage from extreme point loads. | Moderate; lightweight and easier to handle manually, but requires careful backfilling to prevent distortion. | Best for landscape areas, pedestrian walkways, or light-duty vehicle zones where heavy loads are not a concern. | |
| Fiberglass | Very Good; offers a high strength-to-weight ratio and excellent corrosion resistance. | Moderate; lighter than concrete but often requires more specialized handling during installation. | Ideal for corrosive environments like industrial sites or coastal areas with saltwater exposure. |
As you can see, there's a reason precast concrete is the industry standard for parking lots. Its sheer mass and structural strength give it the stability needed to handle fully loaded semi-trucks day in and day out without shifting, cracking, or failing.
Don't Overlook the Pipes and Grate
Your basin is only as good as the parts connected to it. The pipes carrying water and the grate protecting the opening are just as vital for a long-lasting, functional system.
The grate is the only part of the assembly anyone will ever see or drive over, and it has to be tough. For any area with vehicle traffic—no exceptions—the grate must carry an AASHTO H-20 load rating. This certification means it can handle the immense weight of a commercial truck, a non-negotiable requirement for nearly any commercial property.
When it comes to pipes, SDR 35 PVC is the undisputed workhorse for storm drainage. Its thick, rigid walls provide the structural strength to resist being crushed by tons of backfill and traffic, while its smooth interior lets water and debris flow right through. I've seen too many installations fail because someone tried to save a few bucks with cheap, corrugated pipe—it inevitably clogs and collapses under pavement. Making the right material decisions here is what separates a five-year fix from a 50-year solution.
Mastering Excavation and Base Preparation
Alright, with your plans and permits in hand, it's time to break ground. This is where the success of your entire drainage system is decided. I can't stress this enough: rushing the excavation or skimping on the base is a surefire way to guarantee failure down the road.
We’re not just digging a hole here. We are engineering a foundation that needs to support the immense weight of the basin and surrounding traffic, preventing it from settling over time. A basin that sinks even a half-inch becomes its own mini-pond and a nasty trip hazard, completely defeating its purpose.
Precision from the Start: The Excavation
First thing's first: grab your site plan and a can of marking paint. You need to precisely outline the catch basin's footprint on the pavement. Once that's done, mark a second perimeter at least 12-18 inches wider on all sides. This "overdig" area is non-negotiable. It gives you room to work and, more importantly, space to form the concrete collar and compacted base that will lock the basin in place for good.
With your lines marked, it's time to cut the pavement. A walk-behind concrete saw is the right tool for the job, giving you clean, straight lines. This isn’t just for aesthetics; a clean cut is critical for creating a strong, seamless patch when you restore the pavement later. A ragged, jack-hammered edge is a weak point that will eventually crumble.
Now you can start moving dirt. A mini-excavator gives you the control you need. As you dig, constantly check your depth. You need to account for three variables:
- The total height of the catch basin assembly.
- The thickness of your compacted gravel base—a minimum of 6 inches is the industry standard.
- The final grate elevation. The grate must sit 1/4 to 1/2 inch below the finished pavement surface to capture water effectively.
Building a Bulletproof Foundation
Once you hit your target depth, you've reached the most critical phase of the job: building the base. This is the foundation that keeps the entire structure from sinking. From my experience, an improperly prepared base is the number one reason catch basins fail.
The base isn't just compacted dirt. You must install a minimum of 6 inches of clean, compacted aggregate. #57 stone or crushed concrete are excellent choices. This layer is what distributes the load and provides a stable, well-draining platform for the basin.
After you've spread the aggregate, you have to compact it. Don't just tamp it down with a shovel. Use a mechanical plate compactor and make several passes over the entire area. The base is properly compacted when you can walk across it without leaving a footprint. Trust me, this single step is the best insurance you have against future settling.
This simple diagram shows how these key stages flow together.

As you can see, a successful installation is a sequence. It’s all about a solid excavation supporting the basin, which then allows for proper pipe connection. Each step builds on the last.
Nailing the Final Elevation
With a rock-solid base ready, you can now carefully lower the basin into the excavation. These precast units are incredibly heavy, so this is a job for your excavator and heavy-duty straps. Never attempt to move one by hand. Slowly guide the basin into position.
Now for the moment of truth. Stretch a string line across the opening, pulled tight at the exact finished grade of the surrounding pavement. A laser level is even better if you have one. Measure from that line down to the top of the basin's frame.
Pro Tip: Your target is to have the top of the basin frame low enough so the grate, when installed, sits just below the pavement. You can fine-tune the height by adding or scraping away small amounts of the fine base material under the basin. Take your time here. It's far easier to get it perfect now than to try and fix a sunken or raised basin later.
Once that elevation is dialed in, you're ready to connect your pipes and lock in the foundation for a drainage system that’s truly built to last.
Nailing the Installation and Connection
Once your basin is set on its rock-solid base, you’ve reached the most critical part of the job. This is where a heavy concrete box and a pile of pipes become a fully functional, watertight drainage system. The entire success of the installation boils down to getting these connections right; a single leaky joint or an improperly sloped pipe can cause the whole system to fail by eroding the subgrade or backing up with silt.
Frankly, this is where attention to detail is everything. One slip-up here can lead to washouts and sinkholes appearing around the basin months or years later. It’s the kind of mistake that separates a true professional job from a costly callback.
Getting the Slope Right for Positive Flow
In drainage, gravity does all the heavy lifting, but you have to give it a clear path. For water to move efficiently, every single pipe feeding into the basin needs a consistent, measurable downward slope. Without this "positive flow," water just sits there, letting sediment and debris settle out and eventually clog the line completely.
The industry standard calls for a minimum slope of 1%, which is a one-foot drop for every 100 feet of pipe. In my experience, especially for the shorter runs we see in parking lots, it’s better to aim for a slightly steeper 2% slope. This moves water more aggressively, which helps flush the lines and keep them clear of grit and trash.
How to Check Your Slope on Site:
It’s not as complicated as it sounds. You don’t need complex math, just a good level and a tape measure.
- First, pull a tight string line or shoot a laser from the high point to the low point of your pipe run to create a perfectly level reference.
- Now, measure down from that level line to the top of the pipe at both ends.
- Subtract the high-end measurement from the low-end measurement to find your total drop.
- Make sure that drop meets the 1-2% standard for your pipe's length. For a 20-foot pipe run, you're looking for a drop of at least 2.4 inches to hit that 1% minimum.
Making Every Connection Watertight
A leaky pipe joint is a silent killer for any pavement project. Water seeping out of a bad connection will slowly wash away the compacted soil and stone supporting your basin and asphalt. Over time, this creates a void, and that's when you get the dreaded sinkhole that swallows up a piece of your parking lot.
I’ve seen it happen more times than I can count. A crew rushes the connections, and a year later, we’re called back to fix a massive depression around the drain. It almost always traces back to subgrade erosion from a joint that wasn’t sealed properly.
To stop this from ever happening, every PVC pipe connection needs a two-step solvent welding process: primer and cement. The purple primer is non-negotiable—it cleans the pipe and softens the plastic so the cement can create a permanent, chemically fused bond.
When connecting the pipe to the concrete basin itself, you’ll use a flexible rubber gasket or a "boot." These are designed to create a watertight seal that can handle minor ground shifts without breaking. For jobs that demand the highest level of durability, we’ll often encase the exterior of that joint in a non-shrink grout or a full concrete collar. It’s belt-and-suspenders, but it guarantees the joint will outlast the pavement.
Using Risers to Dial in the Final Height
It’s almost unheard of for a standard-depth basin to line up perfectly with your final paved surface. That’s what risers are for. These are just precast concrete or heavy-duty plastic rings that you stack on the main basin to bring the metal frame and grate up to the exact elevation you need.
Using risers is the only professional way to do this. The goal is to set the top of the grate just 1/4 to 1/2 inch below the finished asphalt. That slight recess is what allows water to flow into the drain instead of ponding around it, but it’s not so low that it becomes a hazard. Trying to fudge the height by setting the whole basin high or burying it deep will ruin your foundation and cause it to settle or heave. Risers give you that precise, final adjustment for a perfect finish.
Finishing with Proper Backfill and Pavement Restoration
You’ve got the basin in the ground, but don’t pack up the tools just yet. The final phase—how you backfill the excavation and restore the pavement—is what separates a permanent repair from a temporary patch. I've seen countless jobs fail right here because the crew rushed the finish, leading to the exact same sinkholes and cracked pavement they were hired to fix.
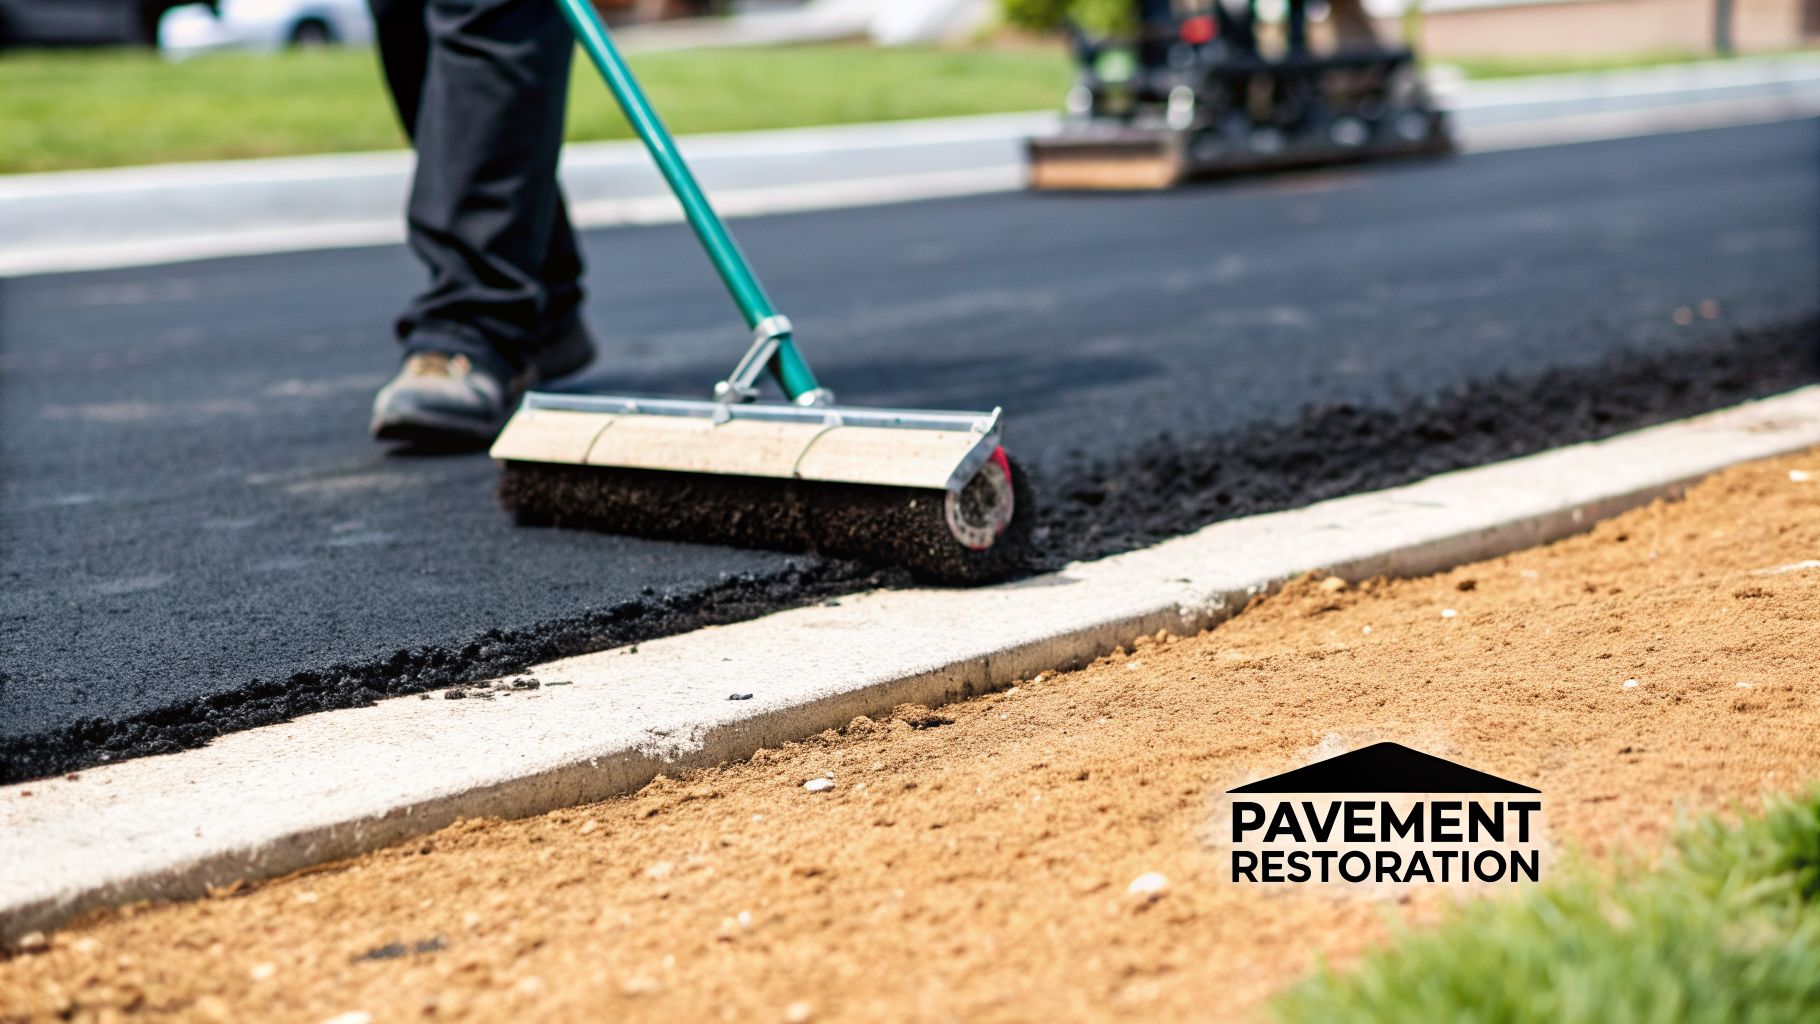
This is where you make the work truly last. The goal isn't just to fill a hole; it's to build a repair that's stronger than the original surface, eliminating voids and seamlessly blending new pavement with old.
Backfilling in Compacted Lifts
Once your pipe connections are solid and have passed any required inspections, you can start backfilling. This is a critical, methodical process. Do not just dump the excavated soil back into the hole. To prevent the ground from settling and forming that tell-tale depression around the basin, you must backfill in compacted "lifts".
A "lift" is just a fancy term for a layer of fill material, usually 6 to 8 inches thick. For this, you'll want to use a good granular material like crushed stone. You can sometimes reuse the excavated soil, but only if it's not heavy clay, which holds water and doesn't compact well.
Here’s the only way to do it right:
- Shovel or place a layer of backfill material around the entire basin, keeping it no deeper than 8 inches.
- Fire up a mechanical plate compactor or a "jumping jack" tamper and go over the entire layer until it's rock-solid. You'll feel the difference.
- Repeat this process—add a layer, compact it down—until you’ve brought the fill level up to the bottom of the existing pavement's sub-base.
This isn't optional. Methodical compaction forces out air pockets, creating a dense, stable foundation around the basin that won't sink under traffic or wash out from rain. Every premature sinkhole I've ever seen around a new drain was caused by someone skipping this step.
Restoring the Pavement for a Seamless Repair
With a perfectly compacted base, you're ready to put the lid back on. You want a watertight, durable patch that looks like it’s always been there. The approach will depend on whether you’re working with asphalt or concrete.
For Asphalt Pavement:
- Apply a Tack Coat: First things first, clean the saw-cut edges of the existing asphalt and apply a tack coat. This thin layer of liquid asphalt acts like a primer and glue, creating a strong bond that stops water from getting into the seam.
- Lay the Hot-Mix Asphalt: Now, bring in the hot-mix asphalt. Just like the backfill, you should install it in layers. A proper repair usually involves a base course with larger aggregate for strength, followed by a smoother surface course. Critically, each layer must be compacted with a vibratory roller to achieve maximum density and prevent future sinking.
- Mind the Final Grade: Aim to leave the finished patch sitting about 1/4 inch proud of the surrounding pavement. It might look like a slight bump at first, but daily traffic will gradually compact it down to a perfectly flush surface.
For Concrete Pavement:
The standard here is to pour a heavy-duty concrete "collar" around the basin. You'll set up formwork and pour a robust border using a minimum of 4,000 PSI concrete. This collar provides incredible structural support, effectively locking the basin's frame into the surrounding slab for good.
Final Touches and Returning to Service
The job isn't done until the repair is invisible. After the new pavement has cured—typically 24-48 hours for asphalt, but longer for concrete—it's time for the final touches.
If the installation work cut through any parking stall lines, directional arrows, or ADA markings, they must be repainted. This isn't just for looks; it's essential for safety, ADA compliance, and getting the parking lot back to 100% capacity. A professional striping job with crisp lines and durable traffic paint is the signature on a project well done. For a deeper dive into materials and methods, check out our guide on professional paving and sealcoating services.
A Long-Term Maintenance and Inspection Plan
A professional catch basin installation isn't finished when the last truck leaves the site. The real value is delivered over the long run, ensuring the system performs reliably for years. Handing your client a straightforward maintenance plan protects their investment, prevents future headaches, and cements your reputation as a contractor who stands behind their work.
This isn't just about being proactive; it's what separates a one-time job from a long-term partnership. Before you can officially call the project complete, the final step is to commission the system and map out a clear path for its ongoing care.
The Commissioning Water Test
Right after the installation wraps up, your first move should always be a commissioning water test. It’s a simple but non-negotiable step to verify the entire system is working exactly as designed before you sign off on it.
Get a water truck or a high-flow fire hydrant and flood the pavement area that drains into your new basin. This real-world test lets you see immediately how the system handles a heavy flow.
Here’s what you’re looking for:
- Positive Flow: Water should move quickly and directly toward the grate.
- No Ponding: Watch for any new low spots where water pools instead of draining. That's a red flag.
- Leak-Free Connections: Check the outlet pipe's discharge point. You want to see a strong, steady flow, not water bubbling up from the ground around the basin—that's a sure sign of a leaky joint.
Establishing a Routine Inspection Schedule
Once you’ve confirmed the system works, the focus has to shift to long-term care. Debris is the number one enemy of any drainage system. Leaves, trash, sediment, and grime will always find their way into the basin. If you just let it build up, it will eventually clog the outlet pipe, making the whole system useless and causing the exact flooding it was built to stop.
A maintenance plan isn’t an optional add-on; it’s a necessity. Studies have shown that even a 25% reduction in a drainage pipe's capacity from sediment can dramatically increase the risk of localized flooding during a major storm.
Giving the property owner a clear, scheduled maintenance checklist is the best way to ensure the system’s longevity. It empowers them to protect their property and stops small issues from turning into expensive emergencies. While you're inspecting the basin, it's also the perfect time to look for pavement distress, like cracks forming around the structure. Tackling these small problems early with professional asphalt crack filling can prevent water from seeping in and destroying the subgrade.
A Practical Annual Maintenance Checklist
A well-designed maintenance schedule is easy for a property manager to follow. Here's a simple checklist you can provide to ensure the catch basin functions optimally and lasts for its full service life.
Annual Catch Basin Maintenance Checklist
| Frequency | Maintenance Task | Why It Matters |
|---|---|---|
| Semi-Annually | Visual Grate Inspection | Clear away leaves, trash, and debris from the grate surface. A blocked grate is the easiest problem to fix but the most common cause of drainage failure during a storm. |
| Annually (Before Rainy Season) | Interior Clean-Out | Remove the grate and measure the sediment level in the sump. The sump should be cleaned out when it is one-third full to prevent debris from washing into and blocking the outlet pipe. |
| Annually | Structural Check | Inspect the basin's interior walls for cracks or spalling. Check the asphalt or concrete around the grate for any settling or sinking, which could point to a problem with the base. |
By outlining this simple plan, you're doing more than just installing a drain. You're delivering a complete solution and proving your commitment to quality that works for the client long after you're gone.
Answering Your Questions About Catch Basin Installation
Even the most thorough plans can leave you with a few lingering questions. When you're dealing with a project as critical as drainage, it's smart to have all the answers upfront. We get a lot of the same questions from property managers and contractors out in the field, so let's clear up some of the most common ones.
What Really Makes a Catch Basin Fail?
Almost every major catch basin failure we've had to repair comes down to one thing: shortcuts during the installation. It might look solid the day the crew leaves, but problems that start underground will always find their way to the surface.
- A Rushed Foundation: This is the big one. If the crew doesn't dig deep enough and lay a properly compacted gravel base, the whole concrete structure is doomed to settle. That’s how you get those dangerous, sunken drains in your parking lot.
- Lazy Backfilling: You can't just dump dirt back into the hole. The soil or gravel must be added back in thin layers (we call them "lifts") and compacted each time. Skipping this step leaves air pockets that collapse under traffic, creating sinkholes around the basin's collar.
- Leaky Pipe Connections: A poorly sealed pipe joint is a silent menace. Even a small, slow leak will gradually wash away the soil and gravel supporting your pavement, leading to a total collapse of the surrounding area.
A catch basin isn't a temporary fix; it's a permanent feature of your property. When installed correctly, it should serve you well for decades.
How Do You Pick the Right Size Basin?
Sizing a catch basin is all engineering, no guesswork. Getting it wrong has real consequences. Go too small, and your lot will flood during the first heavy downpour, defeating the whole purpose. Go too big, and you've just wasted money on a system you don't need.
The right way to do it involves a drainage engineer. They'll calculate the total square footage of the asphalt, concrete, and other non-porous surfaces draining into that specific spot. Then, they'll factor in local rainfall data to figure out the peak amount of water the basin needs to handle during a storm. This calculation dictates the necessary basin volume and the size of the outlet pipe.
Can You Tie a New Basin into an Old Storm Line?
Absolutely, and it's common practice. But connecting to an existing storm drain isn't as simple as just hooking up a new pipe. It requires verification and precision.
First, you have to be 100% certain the existing line can handle the extra water from your new drain. Tying into an undersized or already strained municipal line can cause backups and flooding somewhere else down the line. You also need to ensure the connection itself is rock-solid, typically using a heavy-duty, watertight coupling that is often encased in concrete for stability.
The most critical step here is verifying the exact location and depth of the existing pipe before a single shovel hits the ground. You have to confirm you can achieve a positive, gravity-fed slope from your new basin to the tie-in point. If you can't get the slope right, water will just sit in the pipe, and your new catch basin will be useless.
For any commercial drainage, pavement restoration, or line striping project in the Houston area, trust the experts at Houston Parking Lot Striping. Our experienced team ensures every installation meets the highest standards for durability and performance. Contact us today for a free, professional estimate.